14 Simple Steps to a Fully Organized Room and Stress-Free Home
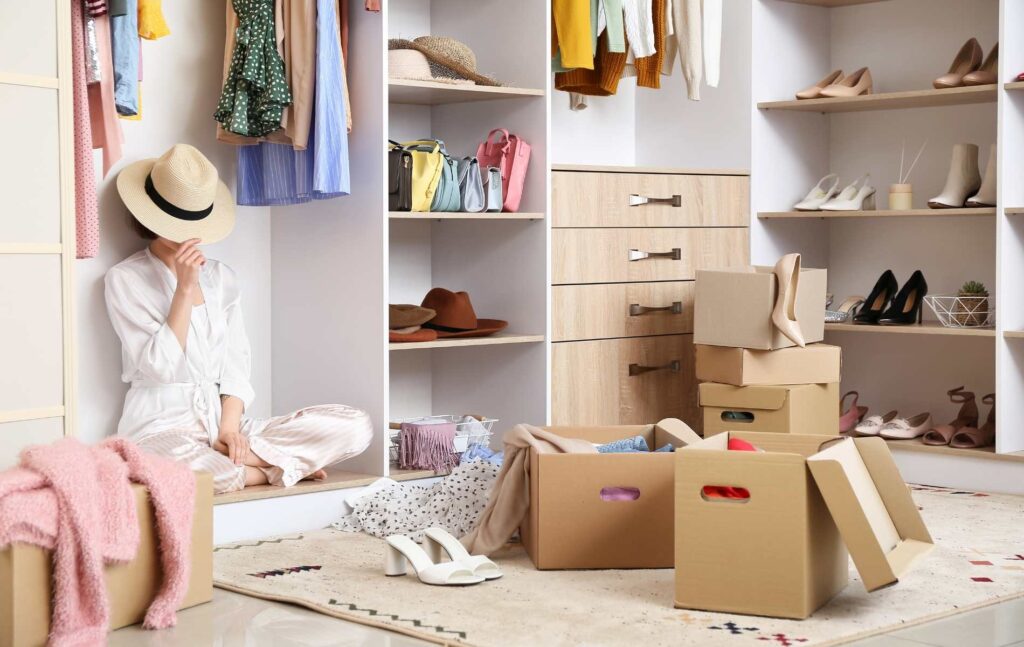
If you’re looking for a step-by-step guide on how to organize a room, you’re in the right place. Organizing any room or your entire home comes with so many benefits. You think more clearly, feel less overwhelmed, and always know exactly where everything is.
Try this quick exercise: think about a time you walked into a room full of clutter. How did it make you feel? Probably overwhelmed, maybe a little anxious, or ready to start cleaning immediately. Now imagine walking into a clean, organized room. You likely felt calmer, lighter, more focused, and at ease. There was most likely no pressure to clean up.
For me, that feeling of calm and order sparked a love for home organization. Over the years, I’ve tried countless systems in different rooms of my house and eventually developed a step-by-step system that works anywhere in the home. The result was a step-by-step process that works for every room in my home. Let’s dive into how to organize a room step by step so you can create a space that feels functional, peaceful, and easy to maintain.
HOW TO ORGANIZE A ROOM IN 10 STEPS
1. Determine Your Organization Goal For the Room
Before I start organizing a room in my home, I determine what my goal is for that space. If I haven’t decluttered or organized in a while, I go through everything and determine what to let go, keep, or donate. Each room can have a different goal, so make sure you know exactly what you want to accomplish before you begin.
For example, when I’m tackling my attic, my goal may be to declutter unwanted items, reorganize storage bins, and add labels. Whereas in my kitchen I might focus on specific drawers or cabinets that still need my attention. Having a clear goal helps you know exactly what you want to achieve when organizing a room.
2. Gather Your Organizing Tools

Before you start organizing a room, gather all the necessary tools you’ll need. Having everything on hand makes the process easier, helps keep items organized, and allows surfaces to be cleaned before returning items.
Common tools include:
- Large boxes with labels (trash, donate, recycle)
- Garbage bags to make decluttering easier
- Cleaning supplies to wipe down surfaces
- Vacuum to clean in drawers, closets, or cabinets before putting items back
- Purchased organizers you’ll be using for the space
- Labels and label maker
3. Section by Section or Take It All Out
When learning how to organize a room, most spaces work best when tackled section by section. This strategy works best for me in most of my rooms because they are not overly cluttered, and I can focus on one area at a time. Organizing section by section means choosing a part of the room, decluttering, arranging items neatly, and then moving on to the next section of the room.
For example, in a bedroom, it means going to the nightstand, removing each item, decluttering, putting items back, and then moving to the next section of the room.
The take-it-all-out strategy is another option. Here, everything is removed from the room before decluttering and reorganizing. I don’t use this method for every room because it takes more time. However, it’s perfect for spaces with a lot of clutter, like attics, garages, or storage rooms, where it’s difficult to see where items should go.
Decide which strategy makes the most sense for your lifestyle and the room you’re organizing. Sometimes I use the take-it-all-out method for certain spaces, and other times I stick to section by section. Choosing the right approach makes room organization easier and helps create a functional, clutter-free space.
4. Declutter Like Cray
Decluttering and organizing go hand in hand. Get rid of anything that you no longer use, items with stains, or things that no longer work. During this process, I take a no nonsense approach to decluttering a room.
If I don’t use it or have no plans to use it, it gets trashed, donated, or sold. I try not to make excuses to keep certain items once I make my decision, something I would’ve done in the past. Things I used to say were, “I’ll use this on my next vacation” or “I’ll wear these shoes next fall,” even if I hadn’t touched them in years.
Anything that doesn’t belong in the space should go in a bin, bag, or pile to be returned to its proper place later. I keep a specific bag just for items that need a new home.
The more we remove from the space, the less cluttered it will feel and the easier it will be to organize the room. If you’re not sure where to begin, these simple steps for decluttering when you feel overwhelmed can help you get started without trying to tackle everything at once.
5. Categorize Your Items
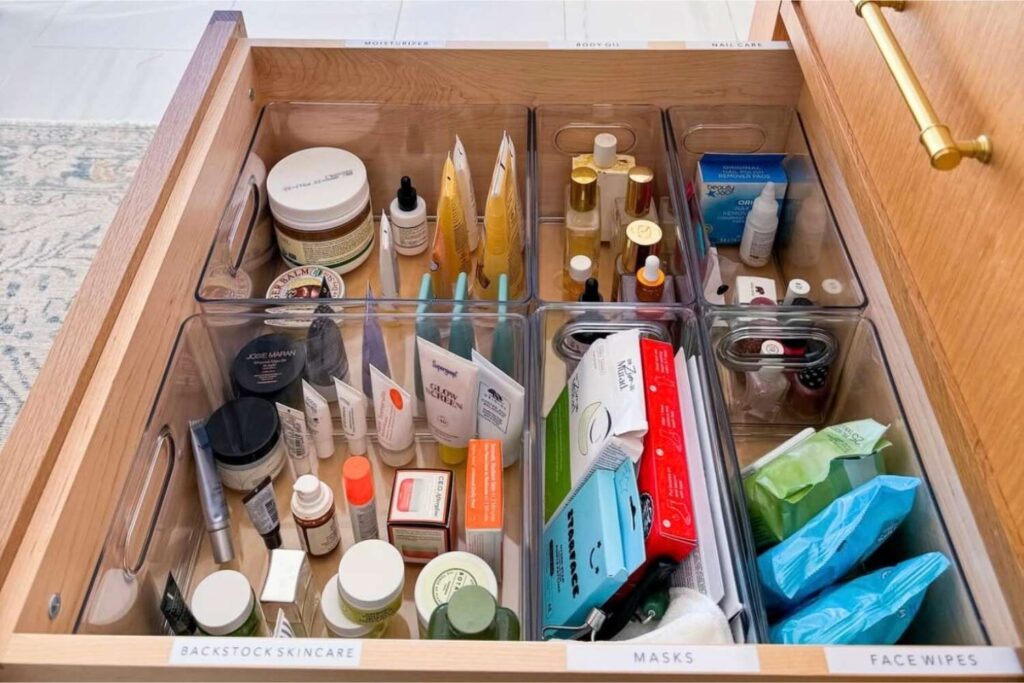
Now that all your items are out of the drawer, cabinet, and space, start grouping like items together. This step is key in the room organization process because it helps you see what you have, how much you have, and makes finding items much easier.
For example, when organizing under a bathroom sink, I group all dental care items together, face care products, hair care essentials, and so on. Once I sorted the items, it was easier to spot duplicates, products I no longer use, or things that can go into a different category.
Once you have your categories, make a post-it with the name of each category and place it on top of the pile. If you plan to separate items into bins or organizers, label each container with the corresponding category to make finding and putting things away easier.
6. Clean the Space Before Putting Items Back
If the area you’re organizing is dirty, take a few minutes to clean it first. It doesn’t make sense to place neatly organized items into a dusty or grimy space. Wipe down shelves, vacuum crumbs, dust surfaces—whatever it takes to make the space feel fresh and ready. For example, in a pantry, you don’t want to set food or spices back onto sticky or dusty shelves.
7. Return Items Back With Organizers or Without
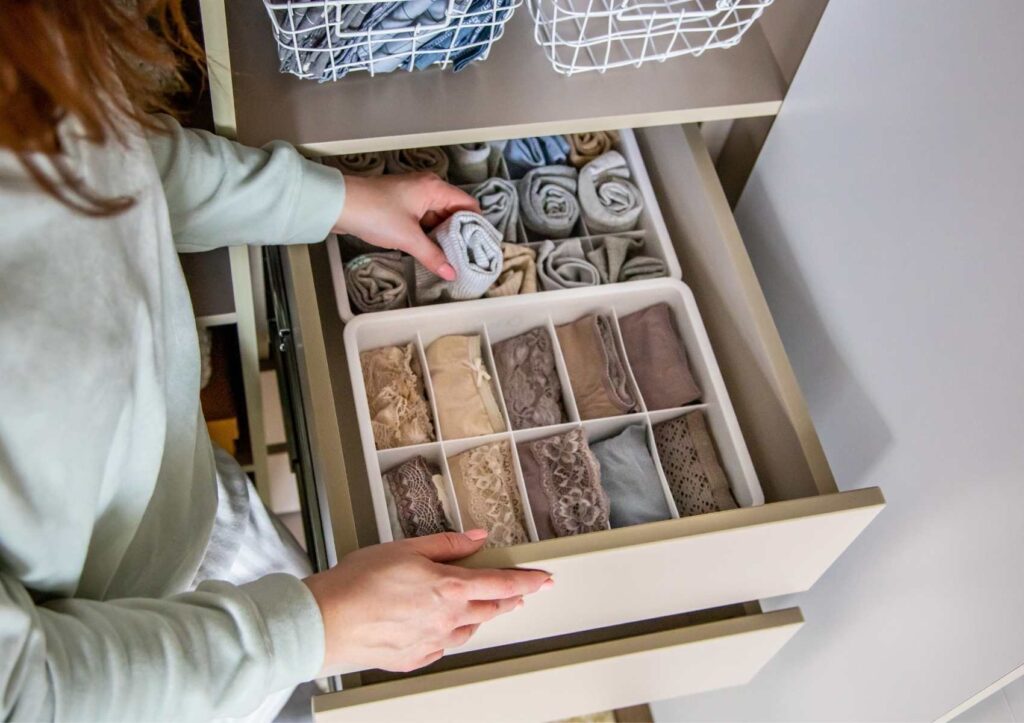
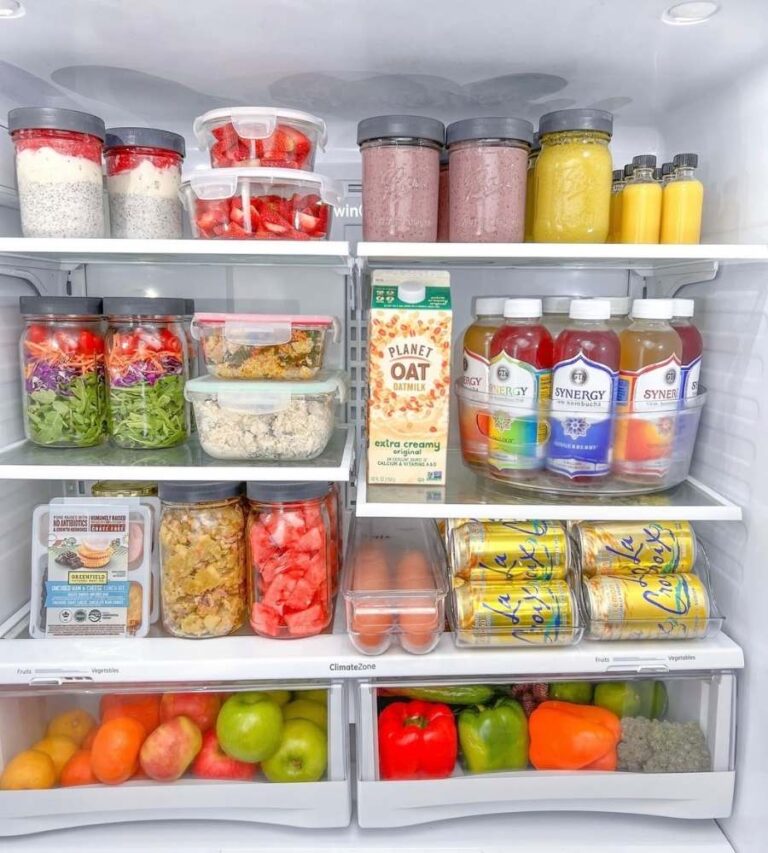
When it’s time to put your items back, place them neatly, whether you use organizers or not. That said, I highly recommend using organizers because, without designated spots, things tend to get messy again over time.
Organizers also help you maximize the storage space you have. For example, in my bathroom I used stacked, tiered acrylic drawers and a two-shelf system under the sink. It not only allowed me more space to store bathroom essentials but also prevented items from being jumbled together in one big messy pile.
When deciding if you need an organizer, ask yourself two questions:
- Will these items eventually mix together and become disorganized?
- Does the space feel too cramped or difficult to manage?
If the answer is yes, then an organizer is most likely worth it. Most are surprisingly very affordable and worth the money in my experience. I use organizers for almost every space in my home to keep everything very organized.
8. Determine What Size Organizers You’ll Need
When determining what size organizers you’ll need, it’s very important to measure the space first. This step is often overlooked, but it’s key if you want your organizers to actually work and fit your space. Trust me, I have ordered organizers without measuring, and the result was oversized or small organizers that were not helpful.
The right organizer should fit the space, make sense for the location, and support your overall system. Whether you’re learning how to organize a room, setting up a pantry, or tackling under-the-sink storage, measuring before you buy will save you time, money, and stress.
9. Label If it Makes Sense
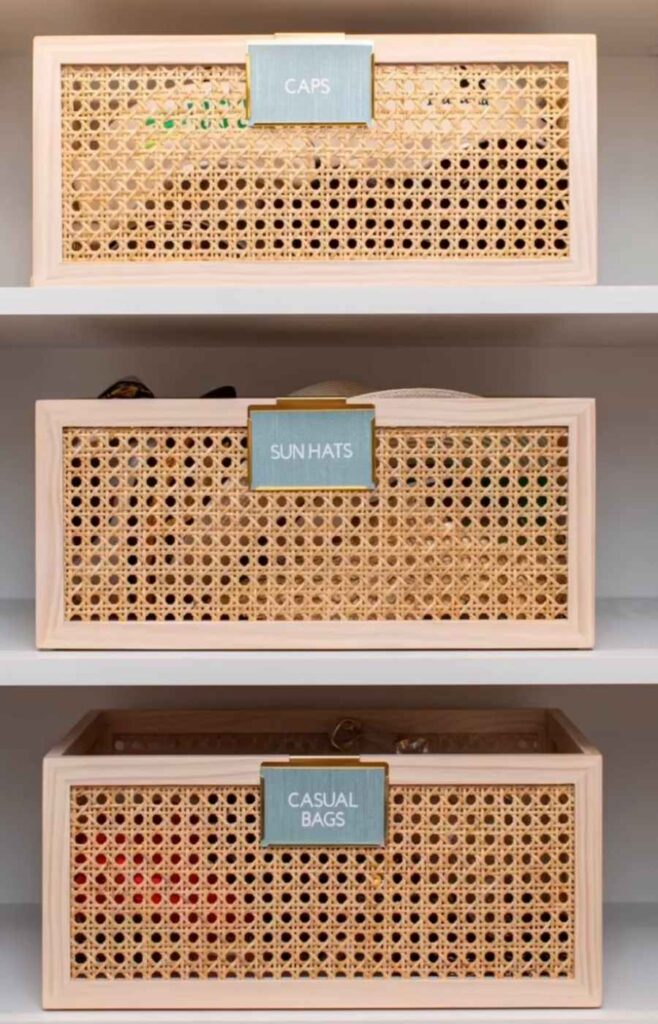
I absolutely love labeling, but I only label if it makes sense. Labeling should save you time and energy, not create extra work. For example, it makes sense to label bins, boxes, and specific organizers where you can’t see what’s inside. But if you’re setting up a silverware drawer, labeling “forks, knives, and spoons” is unnecessary. You can clearly see where each item belongs.
Labels are especially important when learning how to organize a room and want to maintain an organization system over time. They give everything a home and make it ten times easier for everyone in your household to put things back where they belong.
Here are a few ways I create labels:
- Circuit Joy: Perfect for making adhesive vinyl labels.
- Label Maker: Quick and easy for small, everyday labels.
- Color Printer: Great for creating aesthetic sticker labels
Pro Tip: You can also handwrite your labels if you have beautiful handwriting. Since I don’t, I stick to electronic options for a clean and aesthetically pleasing look.
10. Clean Up the Space After Organizing a Room
At the end of a room organization project, there are always a few loose ends to take care of. To finish up the job and put the final touches on your space, take a few minutes to tidy up and clear away anything that doesn’t belong.
Here are some things To Tidy Up:
- Trash or recyclables
- Cleaning supplies that need to be put away
- Items that belong elsewhere in your home
- Donations or items to sell
11. Fine-Tune Your Room Organization
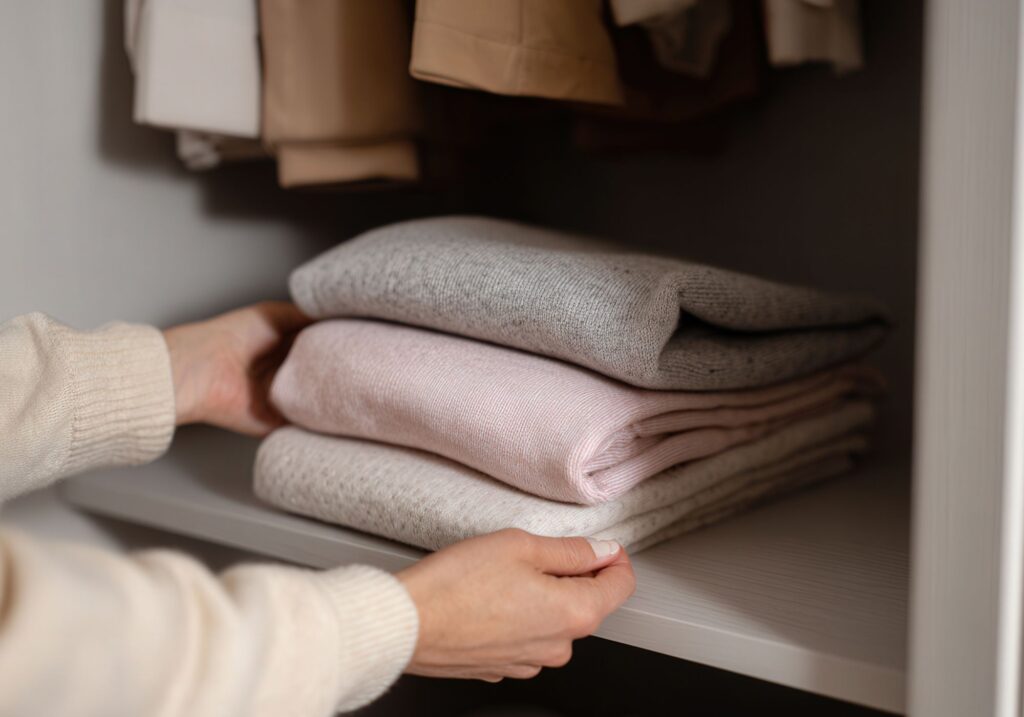
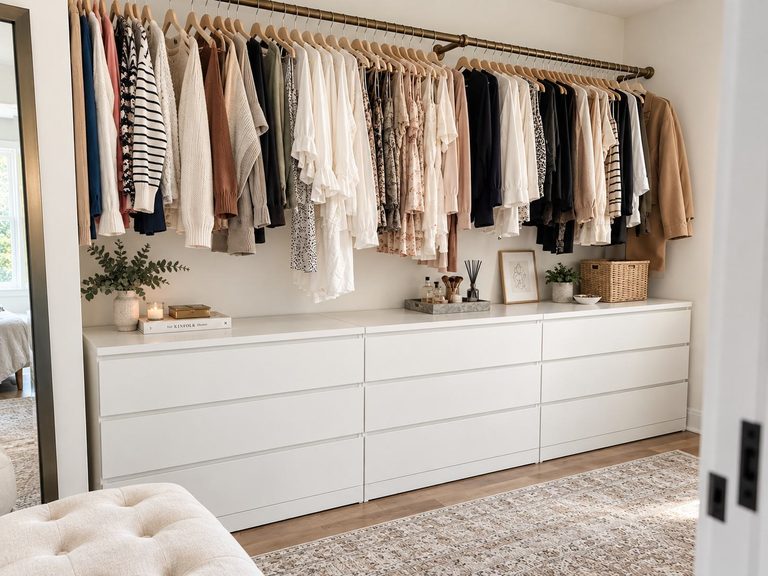
Once you’ve organized a room, don’t feel like everything has to be perfect right away. Adjust and experiment to see what works best for your space. Making little tweaks like moving your hairbrush somewhere easier to grab or shifting rarely worn clothes to the back of your closet, can make a huge difference for your routine.
Fine-tuning is a key step in maintaining effective room organization and mastering how to organize a room in a way that fits your lifestyle. This is a room organization tip that makes sense.
12. Make It a Habit: Keep Items in Their Organized Spaces
You’ve spent all that time organizing your room, so make it a habit to put your items back in their designated spots. Developing this habit is key to room organization and keeping your home functional.
Over time, I’ve adopted this routine, and it’s made my life so much easier. I literally know where everything is in my house. Whenever my husband asks me where something is, we rarely have to search the house because every item has a home. Practicing this habit is one of the most effective home organization tips for keeping your space tidy after organizing a room.
Pro Tip: Write a simple mantra on a piece of paper or a whiteboard that says, “I will put items back where they belong.” Place it somewhere you’ll see often, like the kitchen, office, or entryway, as a daily reminder to maintain your organization system.
13. Schedule Small Resets

Another great way to maintain room organization is to do quick resets. Spend just 5-10 minutes each day putting items back in the room where they belong and declutter the surfaces.
Even short weekly resets like refolding clothes in drawers that shifted or reorganizing your nightstand prevent small messes from building into a big project. Regularly resetting your space can make it much easier to maintain a clutter-free home throughout the year.
14. Repeat Steps 1-11 for all the Rooms in Your Home
If your goal is to organize your entire home, simply repeat these steps in each room. The process works for any space! Whether it’s a bedroom, bathroom, kitchen, or office. This guide was designed to give you a step-by-step system for how to organize a room, so you can apply it anywhere and enjoy the benefits of lasting room organization throughout your whole home.
Final Thoughts on How to Organize a room
I hope you found these tips helpful and feel more confident about how to organize a room. Remember, room organization doesn’t have to be stressful! Especially if you break the project into simple, manageable steps. Tackle one step at a time, and before you know it, you’ll have an organized space you love and a system you can use in any room of your home.
Before you leave, check out my related posts, and drop a comment if you enjoyed this post!
FAQ: How to Organize a Room
Q: How do I organize a room with too much stuff?
A: When a room feels overcrowded, start by removing everything to create a blank slate. This makes room organization much easier because you can clearly see the space and decide what truly belongs. Once cleared, sort through your items, declutter what you don’t need, and then begin organizing the room systematically.
Q: What are the best storage solutions for room organization?
A: The best storage solutions maximize space while keeping clutter out of sight. Think hidden storage like under-bed bins, baskets, or storage ottomans, as well as vertical options such as shelves or stacked organizers. These solutions make organizing a room easier by giving everything a designated place without overcrowding the space.
Q: How to organize a room quickly when I don’t have much time?
A: If you’re short on time, try setting a timer for focused bursts of cleaning and organizing, such as 15–30 minutes at a time. Alternatively, break your room organization project into smaller tasks over multiple days. This approach makes it easier to tackle the room without feeling overwhelmed while still making progress.